Estimated reading time: 7 minutes
Being an officially a retired person conferrs a lot of free time. Which means I no longer have excuses reasons for not doing a lot of projects I’ve been putting off for, well, most of my adult life.
One particular project is building my home workshop. After fits and starts and early iterations in previous homes I’ve lived in, I’m finally building my dream workshop.
In The Beginning
I’ve been swinging a hammer ever since I was big enough to actually pick one up. I credit my interest in carpentry and general shop work to my maternal grandfather, Eric Wilkens. He was a carpenter and house painter who could build literally anything using scraps of wood and a few nails.
All good carpenters need a workshop; someplace with workbench and space to properly store their tools. I had a rudimentary basement shop in the house we moved into when I was 15, but then I joined the Navy and became a nomad. Life in Navy barracks and ships did not give me much opportunity for building a shop. I didn’t have much opportunity for woodworking either, but with the cars I owned in that era, I ended up acquiring a lot of auto tools.
My San Diego Workshop
As part of my first marriage in San Diego, I bought a small house with a two-car garage suitable for a workshop. During the three years I lived there I built a four-foot by four foot freestanding workbench table out of “found” 2″x12″ lumber with 4″ x 4″ support legs. It was literally strong enough to rebuilt an auto engine (which I did). I also started acquiring proper woodworking tools. I had my shop equipment and workbench stored at navy expense while stationed in Italy, then later moved to my Mississippi home.
My Mississippi Workshop
After Navy retirement in Mississippi I built a spacious twelve foot by sixteen foot shed in the backyard for my workshop. It was a great shop except for the location. It was flooded twice during hurricanes in the ten years I lived there. Both times with my tools and equipment inside.
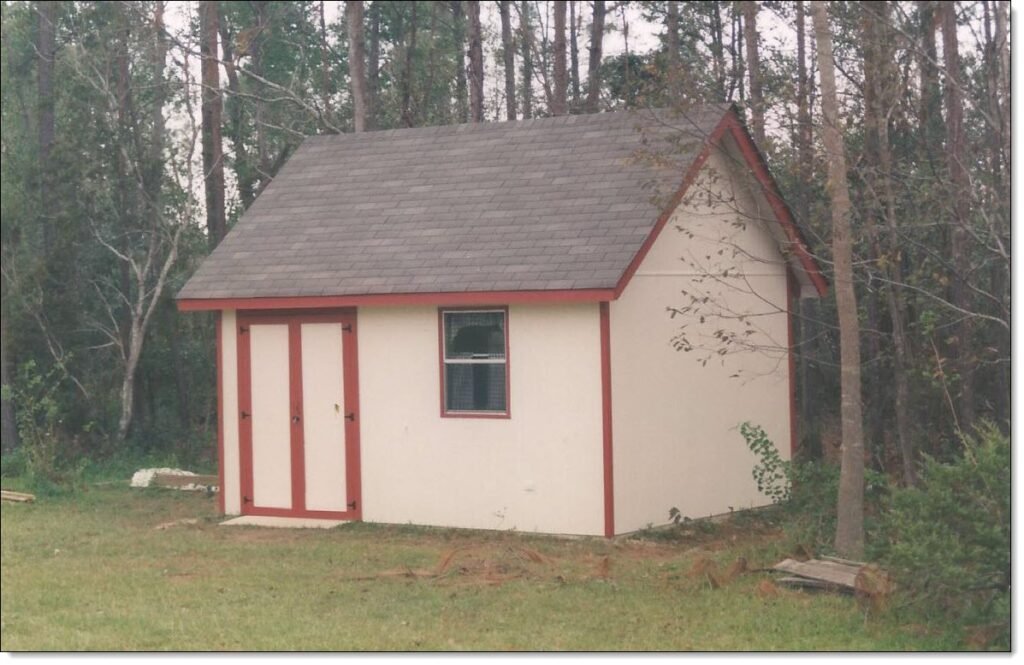
Salt water and shop tools, especially power tools, mostly do not mix well. As a result, I had the great opportunity to scrap and replace my tools, twice. Out of necessity I acquired a lot of new tools during the year Winnie and I rebuilt our Mississippi home after Hurricane Katrina. Then we moved to Virginia at our own expense. I had to leave behind most of my tools, and my workbench, as I could not afford to move them.
In Virginia
Our Virginia house had a single-car garage, which could have been ok for a workshop. Except, we ended up using it for storing lawn and gardening equipment, boating equipment, bicycles, and surplus materials from our many home improvement projects over the years we lived there.
On the bright side, with all our home improvement projects I did acquire a nice collection of new shop tools. Along with new tools I managed to acquire some vintage tools, with the intent of one day restoring and using them.
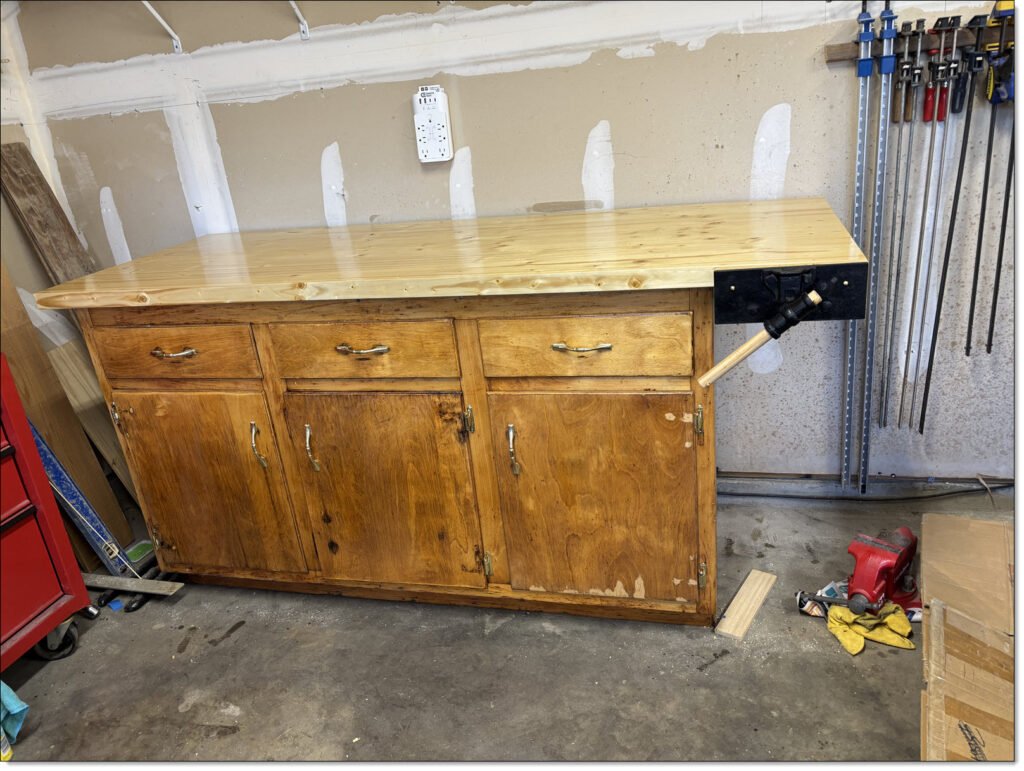
I also acquired the foundation of a new workbench. While renovating our investment house we were able to salvage most of the vintage kitchen cabinets. This included three wall-mounted cabinets and a three-door/drawer cabinet base. Once we finished renovations Winnie and I refinished the cabinets and used them for garage storage. I claimed the cabinet base for my future workbench.
Now In North Carolina
I was able to move all of my shop equipment, along with the cabinet base and two of the three wall cabinets, to our Charlotte, North Carolina, house in 2024. It stayed packed up until a few months ago, when I decided I was ready to start building yet another workshop.
My New Workshop
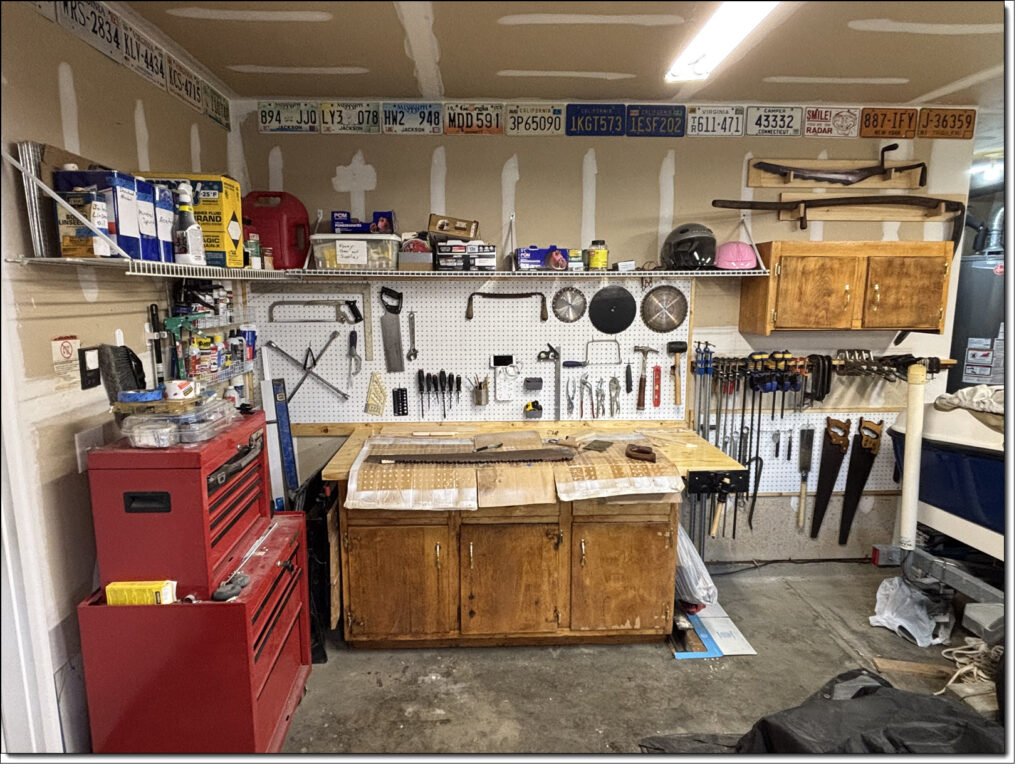
The house we retired to includes a spacious two-car garage. Over the winter months one car spot houses my 18-foot Bayliner 175BR runabout. But, that still leaves plenty of space for a workbench and tool storage. As part of our moving in, Winnie and I agreed on a 5’x13′ corner of our garage for my future workshop.
The Workbench
The cabinet base provides excellent storage for tools and equipment. But it lacked a top, seeing as how it was once holding up a kitchen counter. So, my first step was putting down a solid wood benchtop.
Given how my tools were still packed away, I didn’t want to try gluing and trimming heavy lumber for the top. I finally found a premade “butcher block” countertop through a local big-box hardware store that was perfect for the workbench top. I just mounted it to the cabinet and put on a couple coats of varnish. As a final touch, I mounted my vintage woodworkers vise on one end. It was a perfect fit.
This makes the nicest workbench I’ve owned.
The Storage
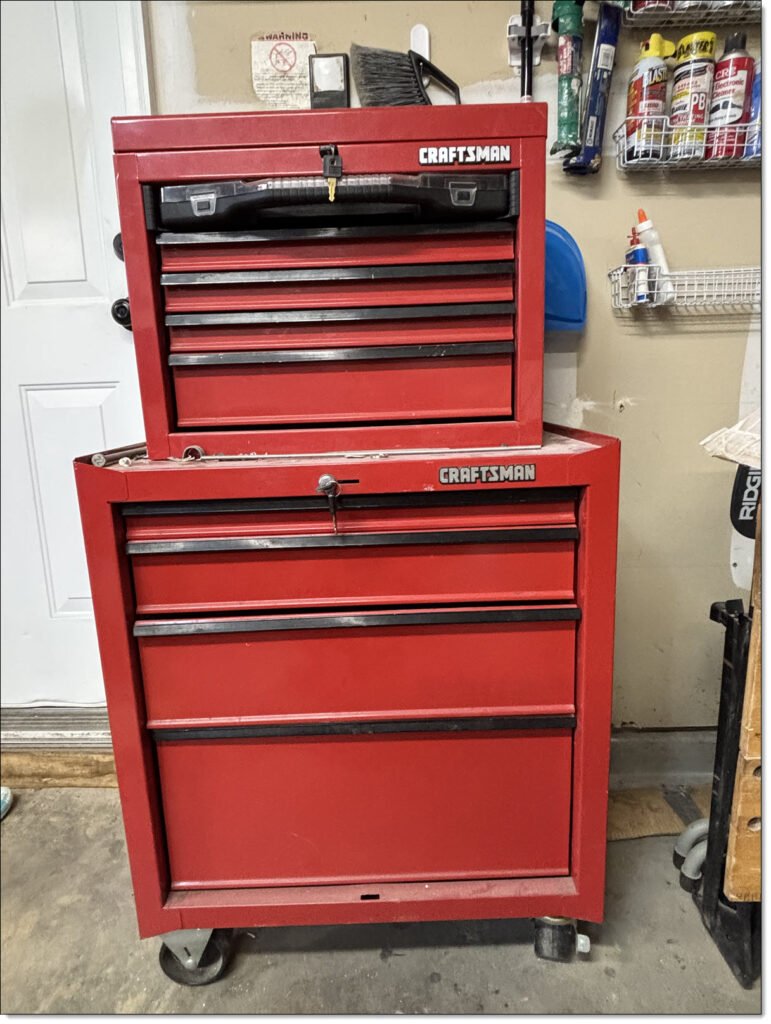
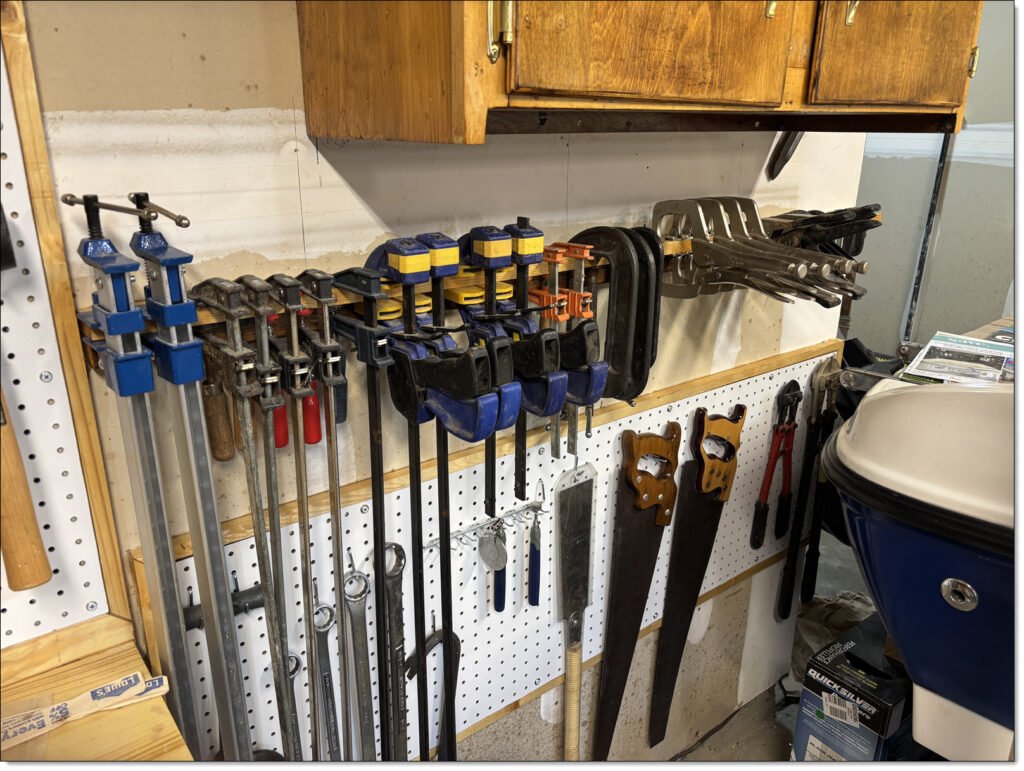
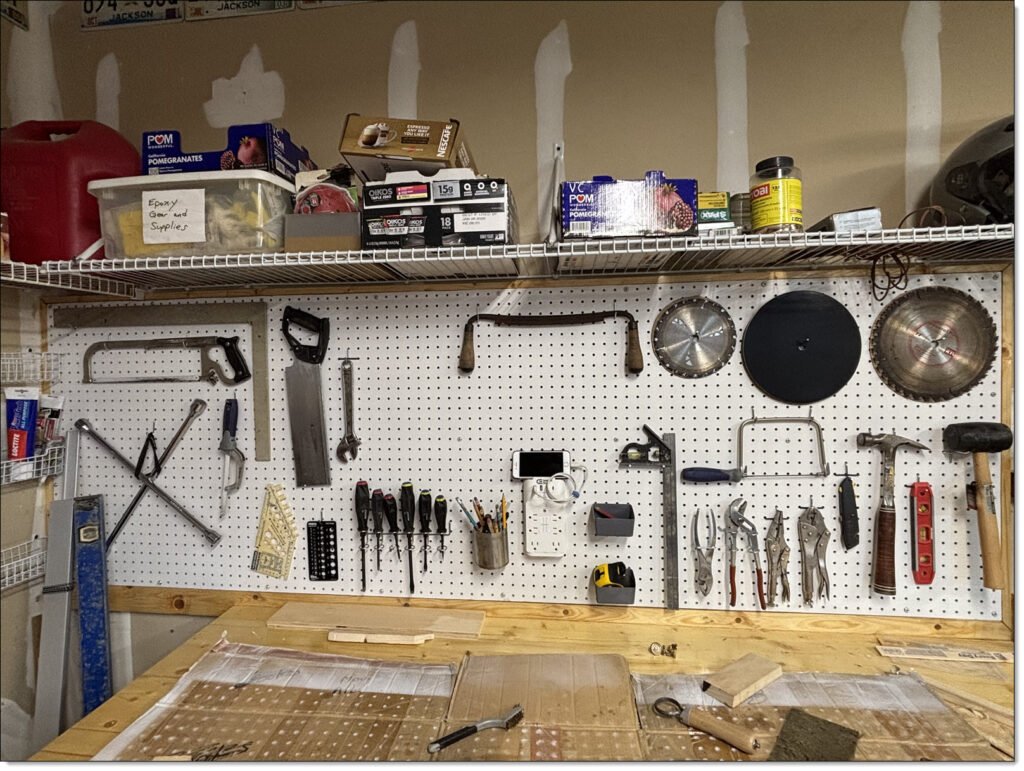
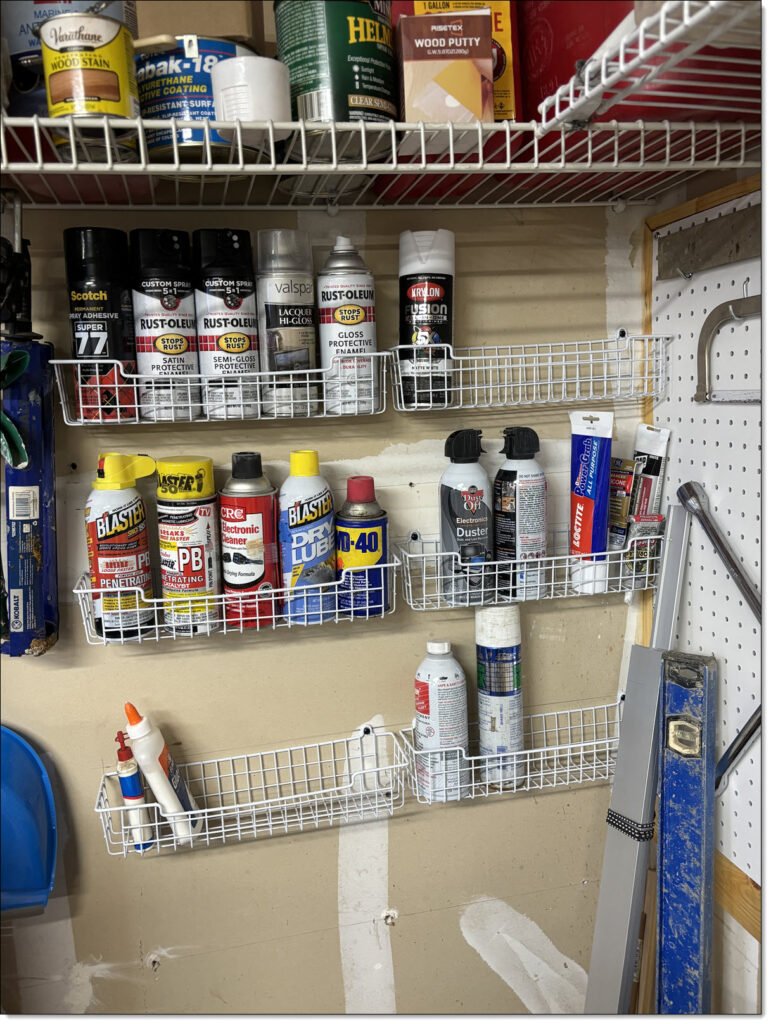
Once I had a functional workbench, it was time to start organizing tool storage. A few years ago I was gifted a Craftsman roll-around tool chest, which along with the workbench cabinet gives me a lot of storage. But I also wanted to keep my most frequently used tools right at hand. So, I next built two toolboards, one immediately over my bench and the other off to one side. On the side I also mounted the smaller of the two vintage kitchen cabinets, and a rail to mount my collection of clamps. I also added some wall-mounted wire shelving.
The Decor
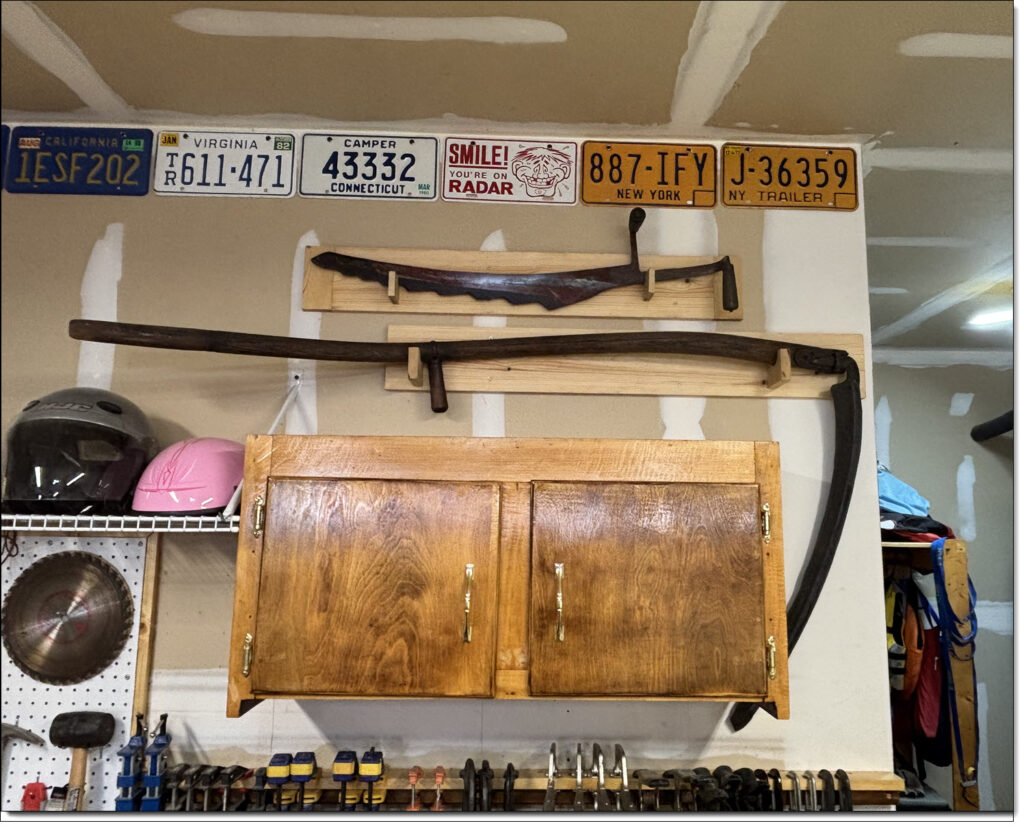
In addition to my tools, over the years I’ve acquired a decent collection of auto license plates. My collection includes plates from six different states starting from 1976. Some previously decorated the walls of my Mississippi workshop, but since we moved to Virginia they’ve been packed away. I finally have the chance to once again display them, along with plates I collected over the years living in Virginia.
I also have space for displaying my vintage tools. I’ve already mounted a sickle and ice saw. I’m currently working on restoring and mounting my prize 43″ one-man crosscut saw.
All-in-all, I think this new shop is going to be nice. I have plans to build a second, smaller roll-around workbench to mount my machinist vises, bench grinder, and small anvil. Meanwhile, I have enough small projects to keep me busy when I’m not doing other retirement stuff.