The Bathroom
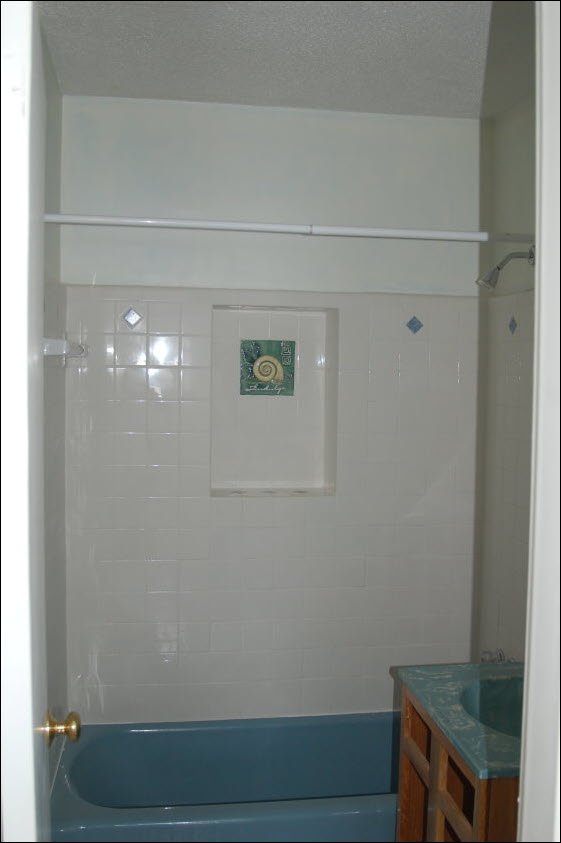
Having mostly finished the kitchen, we next tackled the bathroom. We knew the window would have to be removed and properly blocked off. I also knew I’d have to install a proper bathroom ventilation fan as replacement for losing the window. The bathtub, toilet, and sink basin were all useable, so we removed the toilet and sink and saved them for reuse. I removed the medicine cabinet with the “Razor Blade Disposal” feature and scrapped it.
First we tackled the floor. We could see that there was a layer of tile over what appeared to the original floor tile, which was cracked and loose in places. The wall tile seemed solid, so we planned on keeping it. The original floor tile matched the vintage-looking walls, so we started removing the newer floor tile. And ran into the first problem.
The Bathroom Floor
As we carefully tried removing the newer tiles, the older tile started breaking up. Underneath the original tile was what appeared to be loose sand, not the solid subflooring I expected. I discovered that back in the 1950s bathroom tile floors were set on what was called “sand bedding:” a mix of sand and just a touch of cement, poured into the cavities between the floor joists and leveled off. This old sand bedding was loose from age, which was why the flooring was cracking up.
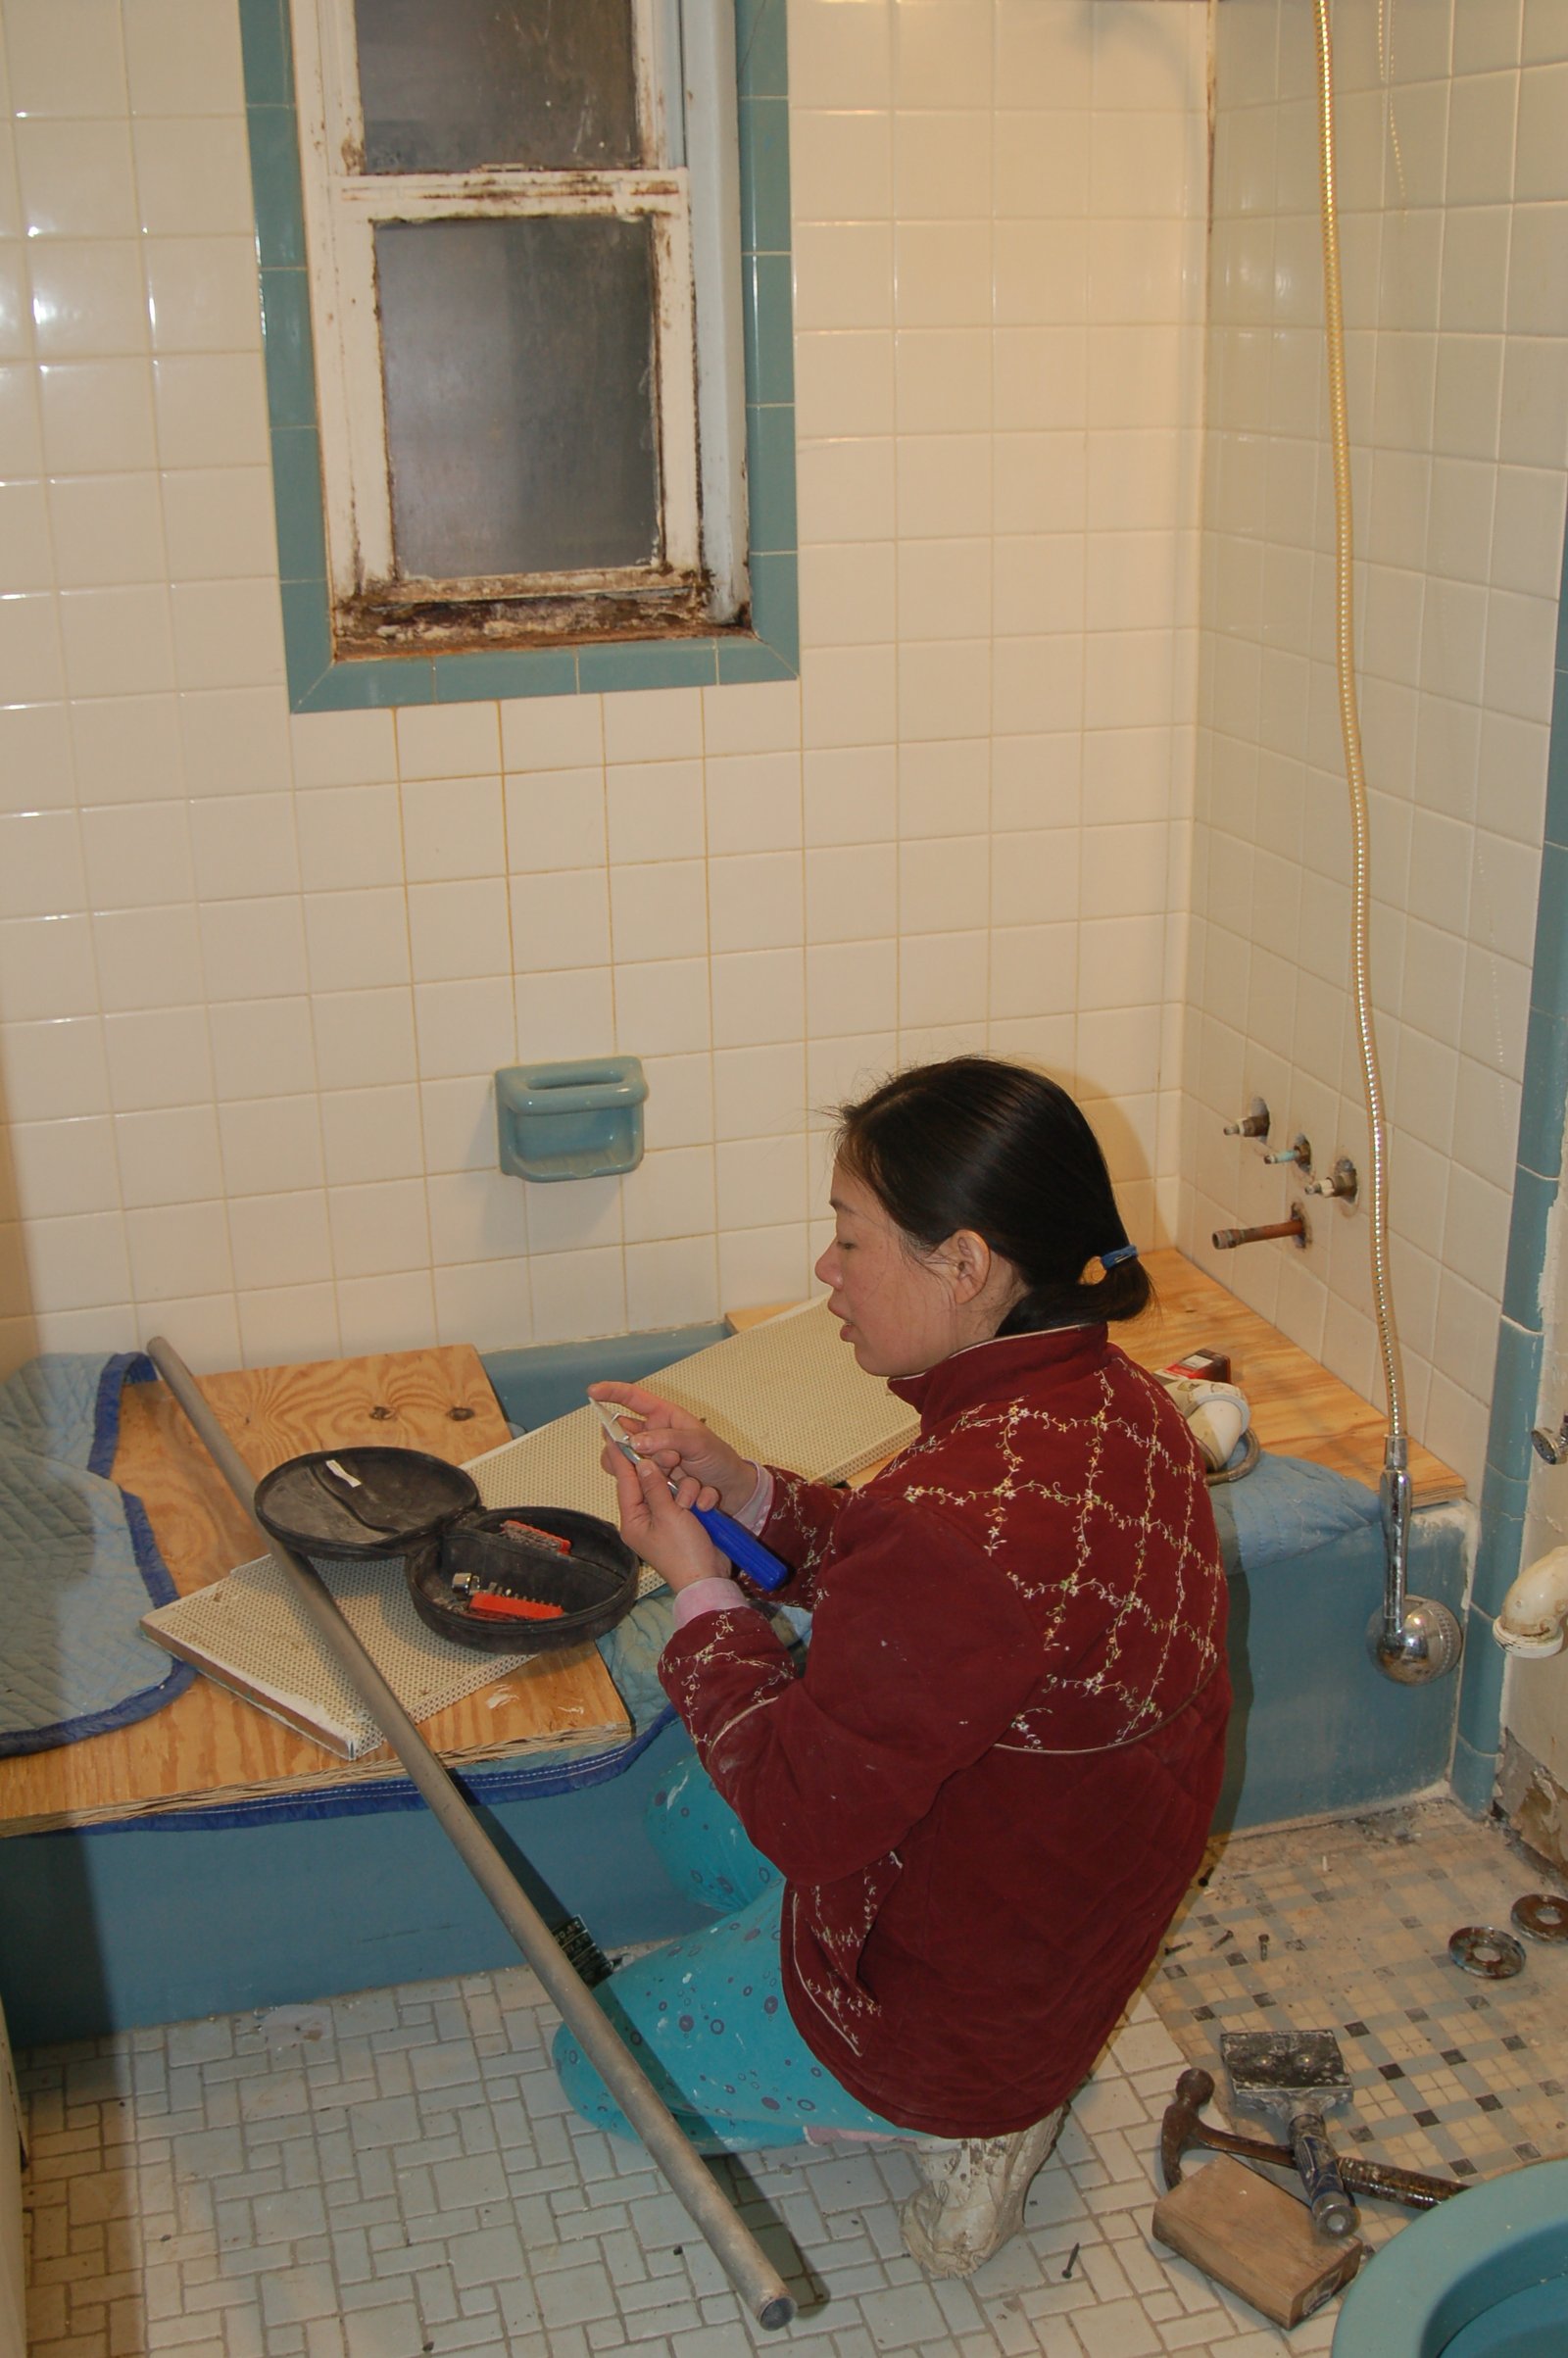
So, we tore out all the old tile then shoveled out a couple of wheelbarrows full of sand bedding. Then I tried laying down plywood subflooring and discovered the floor joists elevations were not even, even though they properly supported the enameled cast iron bathtub. I still don’t know how the builders managed to do that. To put the plywood down I had to trim and shim the plywood across different joists to make everything level. Then we laid down cement board.
Winnie had picked out nice blue floor tile, so as soon as the cement board was down she went to work tiling. Not the vintage look of the original, but it still complemented the wall tile and fixtures.
The Window
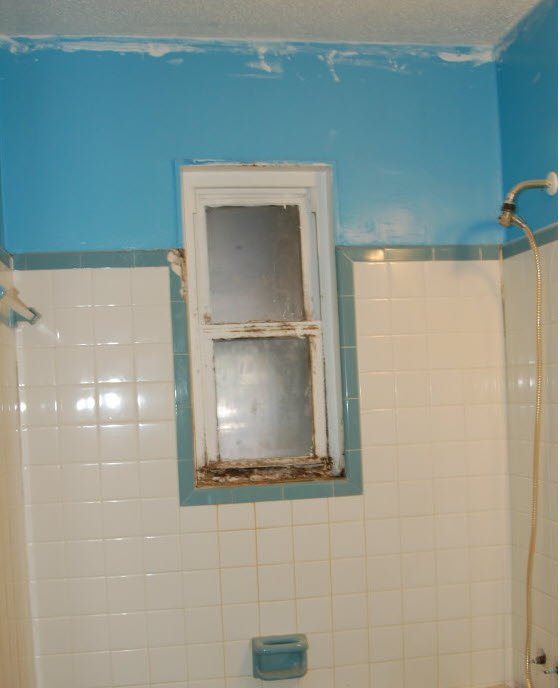
Next we tackled the rusted out window. The house’s masonry walls were almost ten inches thick, which gave Winnie an idea. She proposed I block off the outside of the window and use the inside space as a built-in niche/shelf for the bathtub. She pitched it as a great idea that would be less work than completely closing off the old window.
In truth, I think Winnie just enjoyed tile work.
The window framing was all steel, and it took a bit of bashing to knock it out. Once again, I ran into an unplanned problem. As I pulled out the old window, some of the wall tile pulled off with it. Winnie tried carefully chipping out the remaining blue tile, only to have the white surrounding tile also break off. There was no way to match the old tile with new replacement, so we made the decision to replace all the wall tiling.
Using pressure-treated lumber I installed one inch-by-one inch framing close to the outside wall. I put one inch of styrofoam insulation fitted inside the frame, then installed cement board inside and outside. The outside cement board was slightly recessed with the brick in the thought that – someday – we might want to put tile in the opening. But not today.
I framed out the inside opening to the size Winnie wanted for the niche, and drywalled the rest.

New Wall Tile
Once the window was framed out, Winnie started tearing off the vintage bath tiles. We discovered that underneath the tile was actual concrete molded on welded wire, fastened to the wall framing. Removing the tile proved harder than we expected. In some places I had to use a hammer and chisel to knock it loose and then smooth off the cement wall’s surface.

Once the old tile was gone, Winnie did her thing with a new tile pattern of white and blue. She tiled in the niche with a nice accent tile complementing the accent tile she used in the kitchen over the sink, and added a ceramic towel bar at one end of the tub. Then she continued her tile work with a four-foot high-tile wall around the rest of the bathroom, also adding a ceramic toilet paper holder.