Estimated reading time: 6 minutes
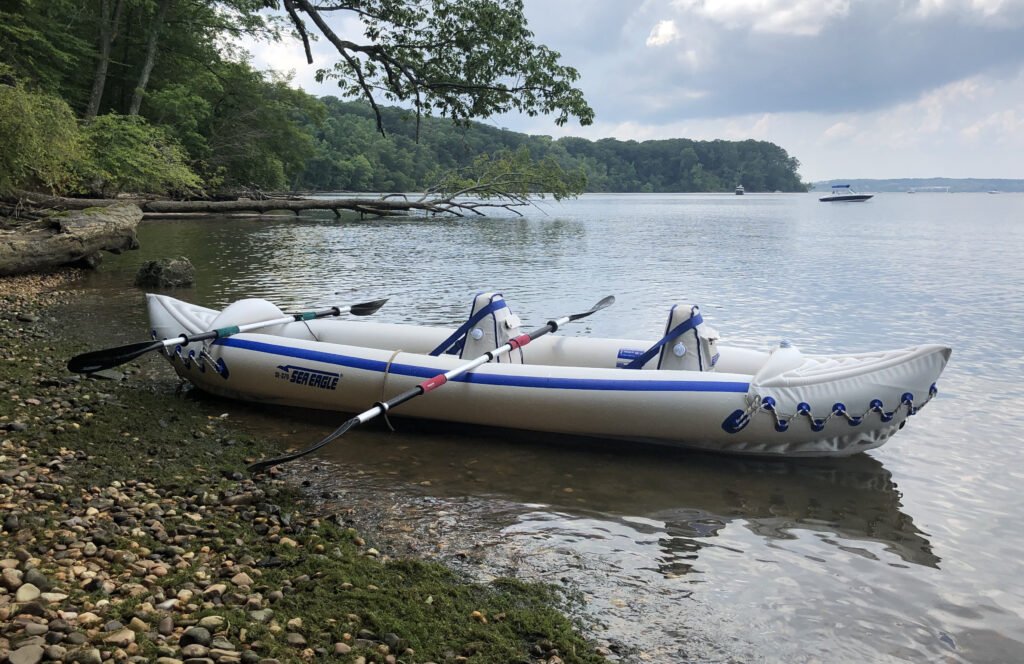
I tend to enjoy tinkering with things, designing and building small gadgets just for the fun and challenge. With my Sea Eagle 370 inflatable kayak, I’ve slowly been coming up with minor improvements for both paddling, and for storing it between paddles.
The Sea Eagle kayaks include permanently attached skegs which help with tracking, and they are very effective if they are straight down from the bottom of the boat. However, they tend to get folded over while in storage and the “skeg guards” that Sea Eagle provides doesn’t provide much protection. I’ve designed a much improved skeg guard that can be made out of corrugated cardboard in a couple of hours times.
About Skegs
are important on inflatable kayaks as the bottoms of this style boat tends to be flat. Without a skeg, the kayak will tend to float sideways in crosswinds and generally not well.

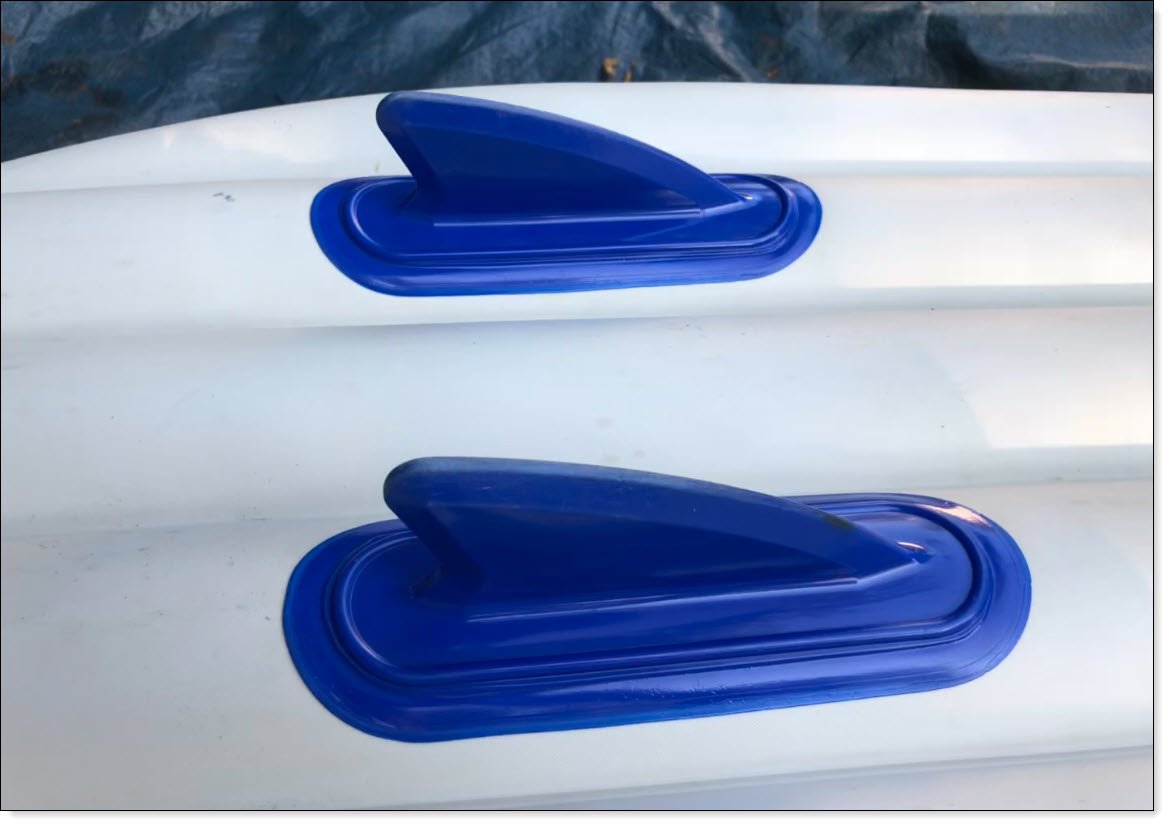
Because the skegs stick straight down from the bottom of the boat, storage becomes an issue. Many inflatable kayaks have removable skegs that you take off before storage, and connect prior to putting the boat in the water. The Sea Eagle 330 and 370 has permanently attached dual skegs. When the hull is rolled up, the force of the tight roll tends to bend these skegs over. After a period of time, these skegs remain bent over even when the boat is inflated and become less effective with tracking.
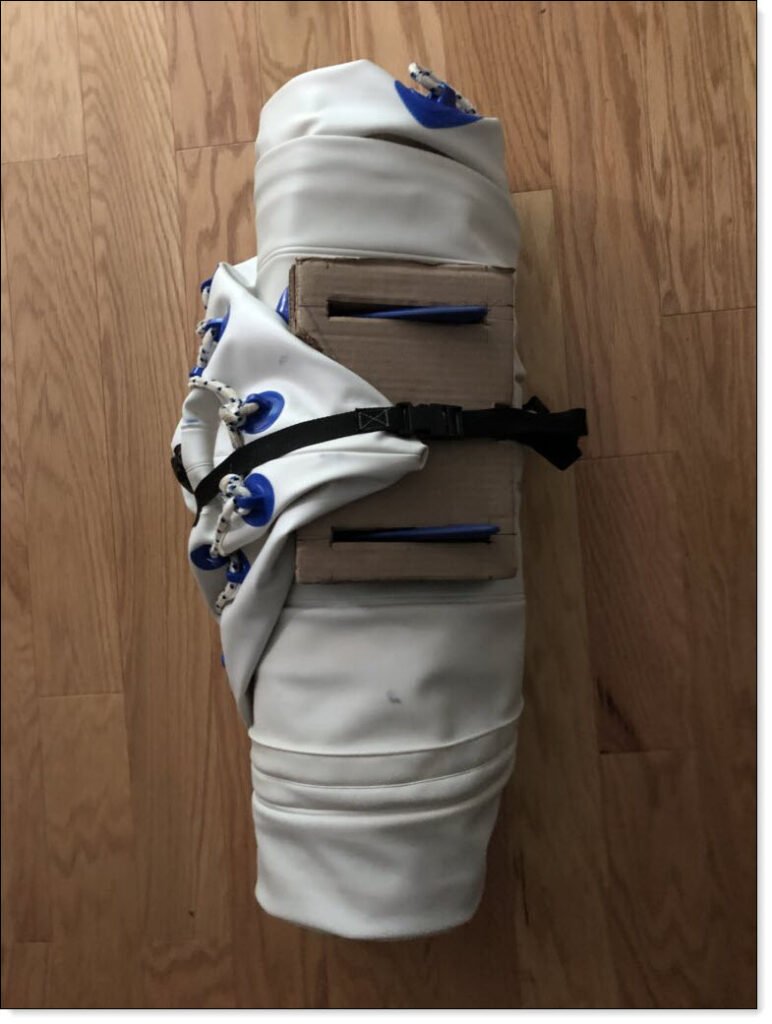
Sea Eagle does provide two little inflatable “skeg guards” designed to be placed over the skegs in storage. But, I consider them less than useless. So I designed a skeg guard that does prevent the skegs from being bent over in storage. A one inch wide nylon strap, which prevents the hull from unwinding in the storage bag, is useful to hold the stored boat in a tight roll, but the skeg guard will work without the strap.
Note that this design works for both the 330 and 370, as their skegs are identical in shape, size, and separation. You do need to remove the skeg guard before putting your kayak in the water.
Directions
Time Needed: 2 hours
Making a Skeg Guard for the Sea Eagle 370 and 330 Inflatable Kayaks.
- Gathering Tools and Materials
You will need the following tools and materials:
a. Large corrugated cardboard box (to be cut up)
b. Razor knife or heavy-duty scissors (to cut the cardboard cleanly)
c. Twelve inch ruler
d. Pen or sharp pencil
e. White glue
g. Downloadable design sketch provided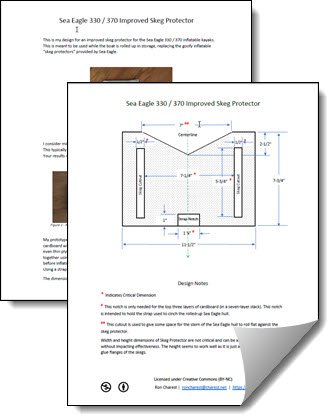
You should have your rolled-up kayak hull available for test fitting the pieces as you cut and stack them. - Download the Instruction Sheet
Click on the image to download the two-page design and notes sheets. This is a PDF file. You can print it out or just work viewing it on your computer screen.
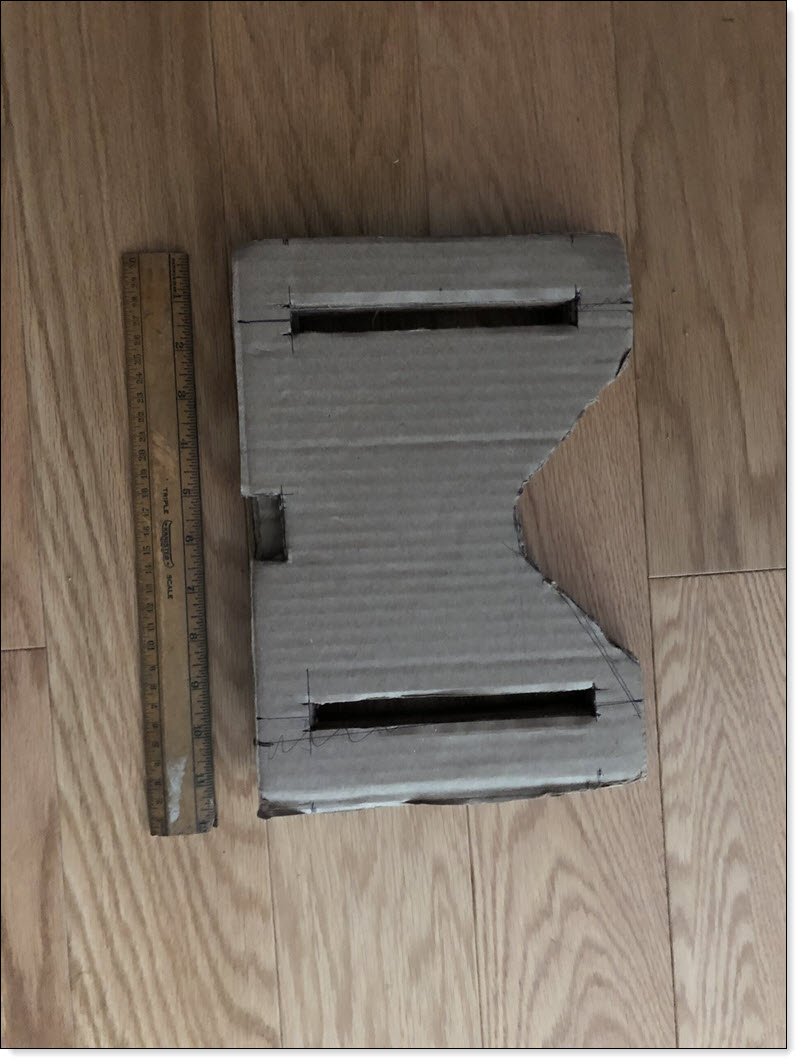
- Cutting Out Layers of Cardboard
The skeg protector is made of layers of cardboard glued together. I used seven layers in my prototype, which, when glued up, came out to a thickness of about three-quarters the height of the skegs.
Using the design dimensions, carefully measure and cut out your first layer. This piece will become your template for the remaining layers. For this piece, do not include the “strap notch.” You only need the top three layers of cardboard with this notch.
Once you’ve cut out your first piece, do a “fit check” on your kayak to be sure the “skeg cut out” holes line up with your boat’s skegs. The cardboard layer should fit snugly around the skegs at their base. You’ll use this first piece as a pattern for the remaining pieces. - Making the stack.
Cut out additional pieces, enough to create a stack thick enough to cover at least three-quarters the height of the skegs. For my prototype I used seven pieces. Depending upon the thickness of the corrugated cardboard you use, you may need more or fewer pieces.
All pieces should have the large “V” cutout, as this allows some space for the stern of the boat to rest flat against the skeg protector. The small square notch is to help hold the nylon strap in place. I made this notch in only the top three layers of cardboard. - Glue-up
As you cut out each piece, stack it on the Sea Eagle skegs. This allows you to test fit each piece, and also shows you the skegs straightening out as you stack up the pieces. Once you’ve cut enough pieces, it’s time for the glue-up. I recommend white glue as it’s easiest and cheapest to use. You don’t need to use waterproof glue as the skeg protector shouldn’t be getting wet.
Remove the cardboard pieces from the stack you’ve built up on the skegs. spread a thin layer of white gule on one side of the first piece and place back over the skegs, glue side up. Repeat with each of the pieces until you get to the last piece. Pushing the cardboard layers over the skegs will clamp them, and align the pieces properly. - And done.
Wait for the glue to dry, and you’re done.
If your skegs have already become permanently bent over, Sea Eagle recommends using a hair dryer (not a heat gun!) to carefully soften the skegs and push them straight up. Once they’re straight, using this skeg guard will keep them from bending over again.
[…] Boating Hacks: Sea Eagle Skeg Guard: A quick “Do-it-Yourself” project to make an improved storage skeg guard for the Sea Eagle 330 and 370. This guard prevents the skegs from permanently bending over while the boat is stored. […]
[…] Boating Hacks: Sea Eagle Skeg Guard […]